Connect revenue with a guided setup
Connect payments to traffic with a setup that shows what to do next and whether it worked. The Integrations tab now lists your sites with a concise revenue status. Open the site you want to configure, and the others stay out of the way.
Three steps to attributed revenue
First, connect Stripe, Polar, or another payment source. You choose one path and see only the fields for that choice.
Next, link payments to visitors. Copy a prompt into your coding assistant to connect checkout metadata to XPmetric traffic. If you prefer to write the code yourself, the guide and Payments API option are there too.
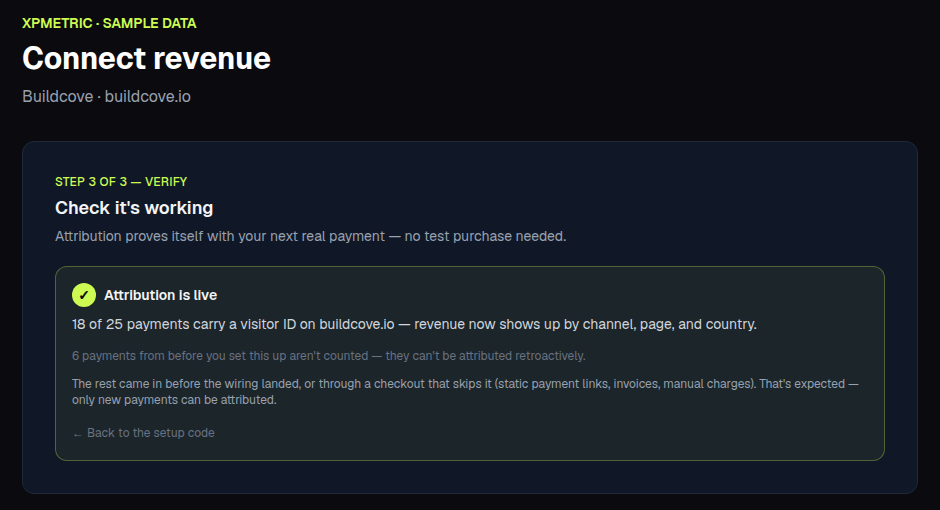
Finally, verify the connection. The setup watches for incoming payments and shows how many carry a visitor ID. If payments arrive without one, it tells you what is missing beside the instructions to fix it. You do not need a test purchase to see the status change.
The verification count starts when you say setup is complete. Older payments could not have carried the new visitor ID, so they do not hold your status back. The same guided flow is available when you add a site and when you return to Settings later.
The example above shows the verification screen with sample data from the fictional Buildcove site.
Analytics that plays like a game. Free for 14 days, no card.
Start free trial →